Installing
Install VoiceAttack
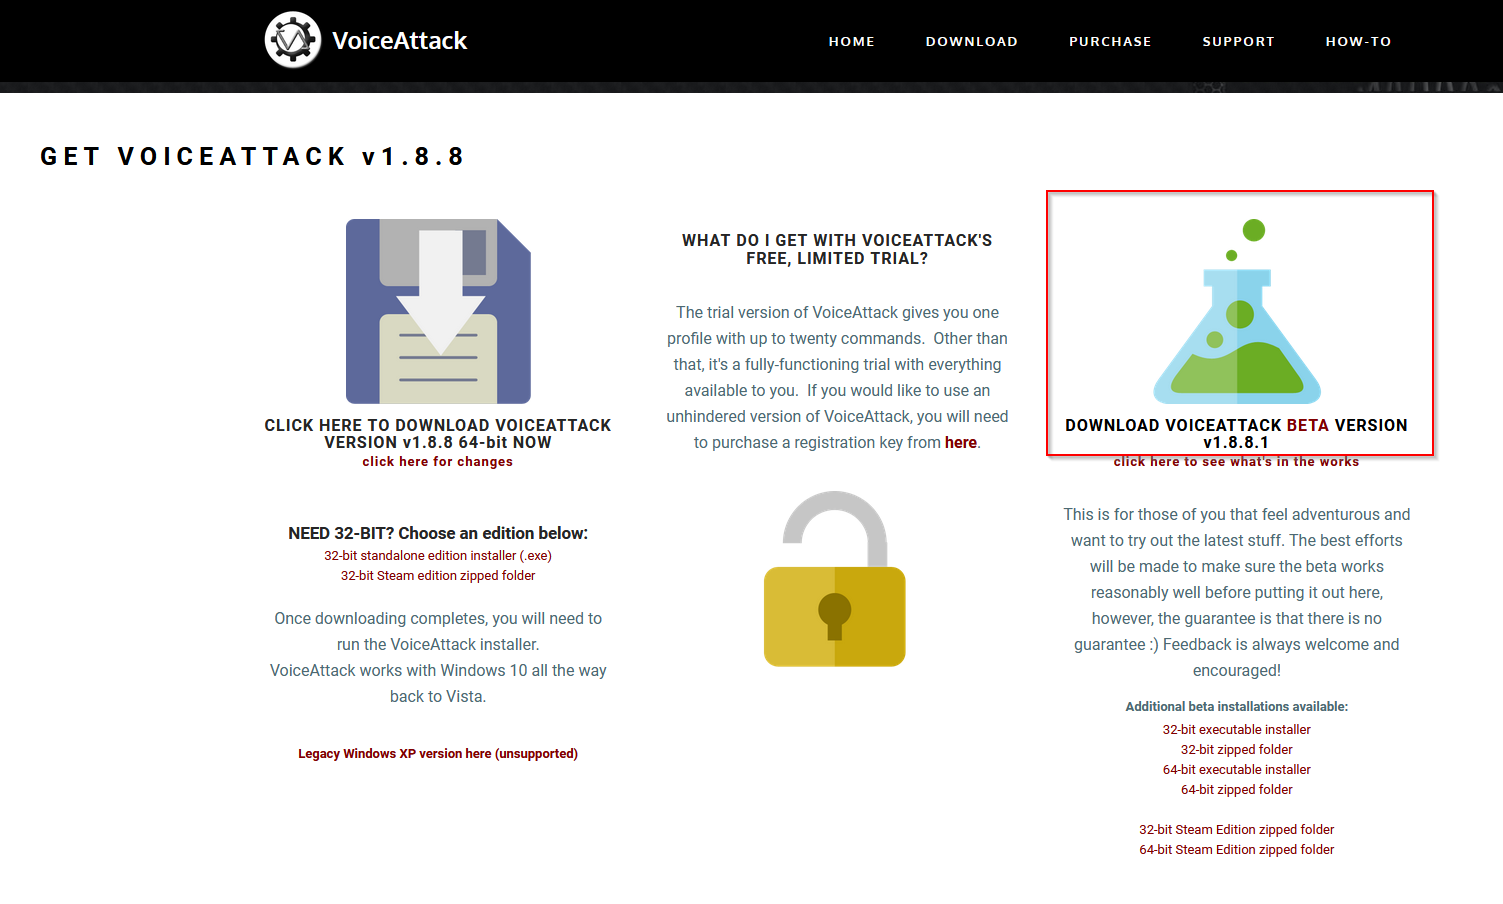
Grab the most recent VoiceAttack beta version off the official site and install it.
If you are using the standalone version you should probably download the executable installer.
If you are using the Steam version of VoiceAttack, you will have to download the zipped folder and replace your installed version with its contents.
Here is the first hit on a Google search for finding the installation folder. It is for a completely unrelated game, but the steps are the same.
You can potentially also install the latest non-beta version; but I often use features that have only just been added to the beta, so some things might break for you if you are not using that. There might not be a beta version at the time you’re reading this, just get the full release then.
Enable Plugin Support
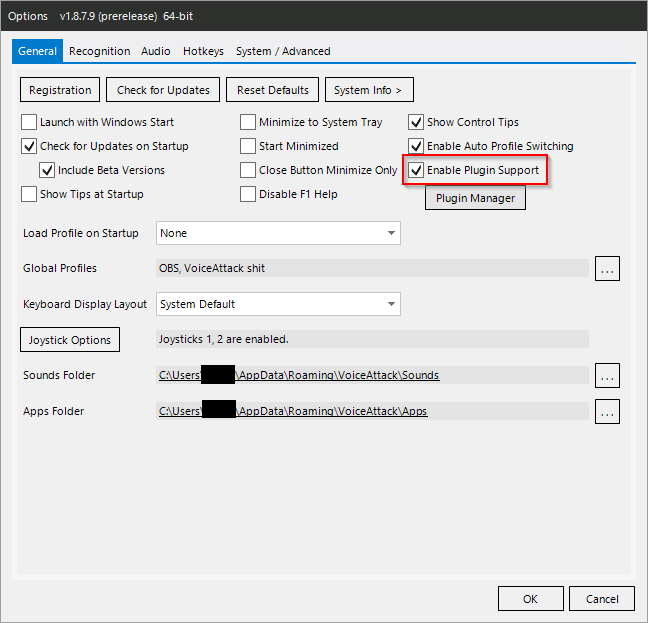
Make sure you have plugin support enabled:
- Go to VoiceAttack settings.
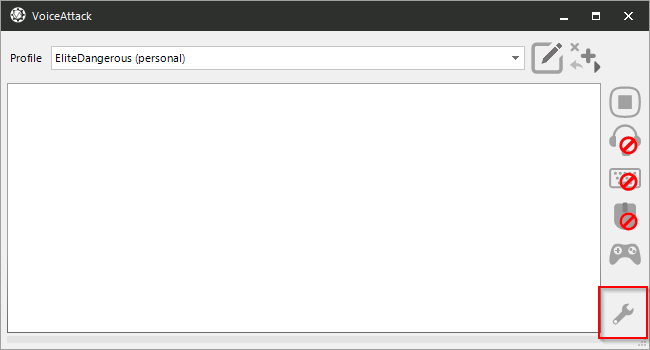
- Check “enable plugin support”.
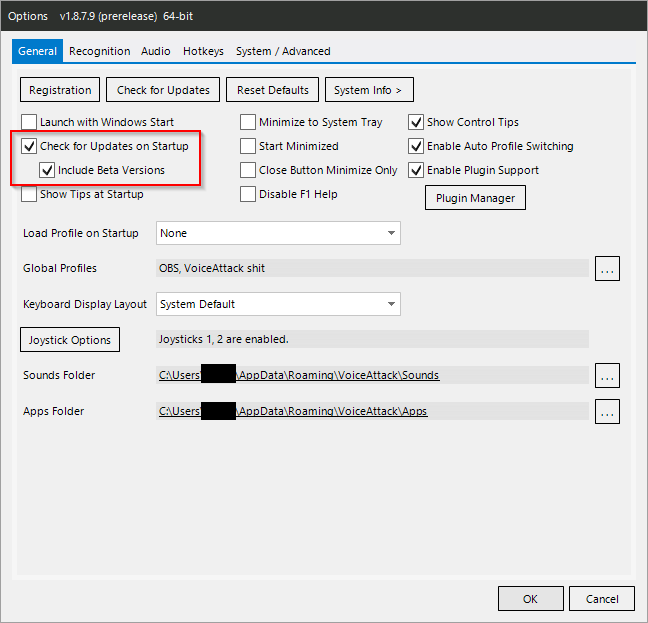
While you are there, you might also want to enable the automatic update checks (Note: those settings do not exist in the Steam version).
Install EDDI
Install the latest release from
Github (The EDDI-X.Y.Z.exe file under “Assets”). You will need to install it
as a VoiceAttack
plugin.
If you do not want to install it into the VoiceAttack installation folder (or
already have it installed somewhere else) you can instead put it elsewhere and
create a symbolic link. Open a command prompt (Windows key + R, enter “cmd”,
hit Enter) and do
>cd x:\path\to\VoiceAttack\Apps
>mklink /J EDDI x:\path\to\EDDI
If you have installed the non-Steam version of VoiceAttack to the default folder
within “Program Files” you will have to run the command prompt as admin (Windows
key + R, enter “cmd”, hit Control + Shift + Enter).
Install ED-NeutronRouter
Grab the latest release release from
Github (The
EDNeutronRouter.vX.YZ.zip under “Assets”). You will have to extract the
contents of the release .zip file to your VoiceAttack Apps folder:
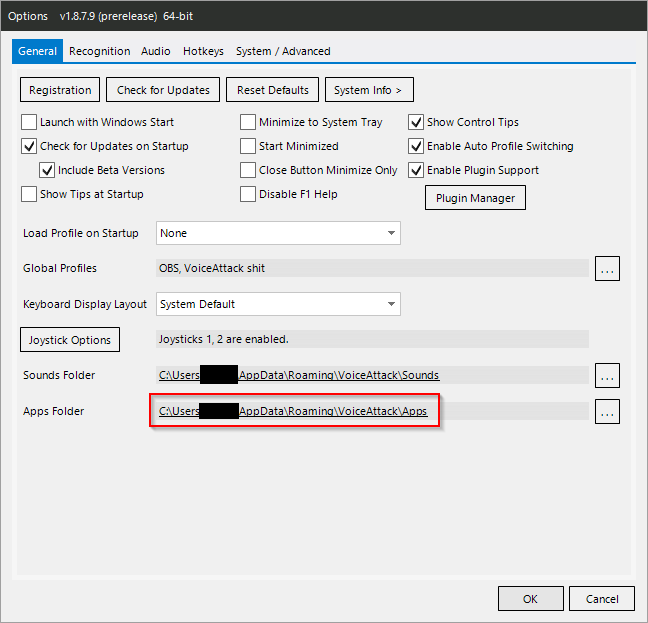
- Go into VoiceAttack settings.
- Click the folder set as “Apps Folder”.
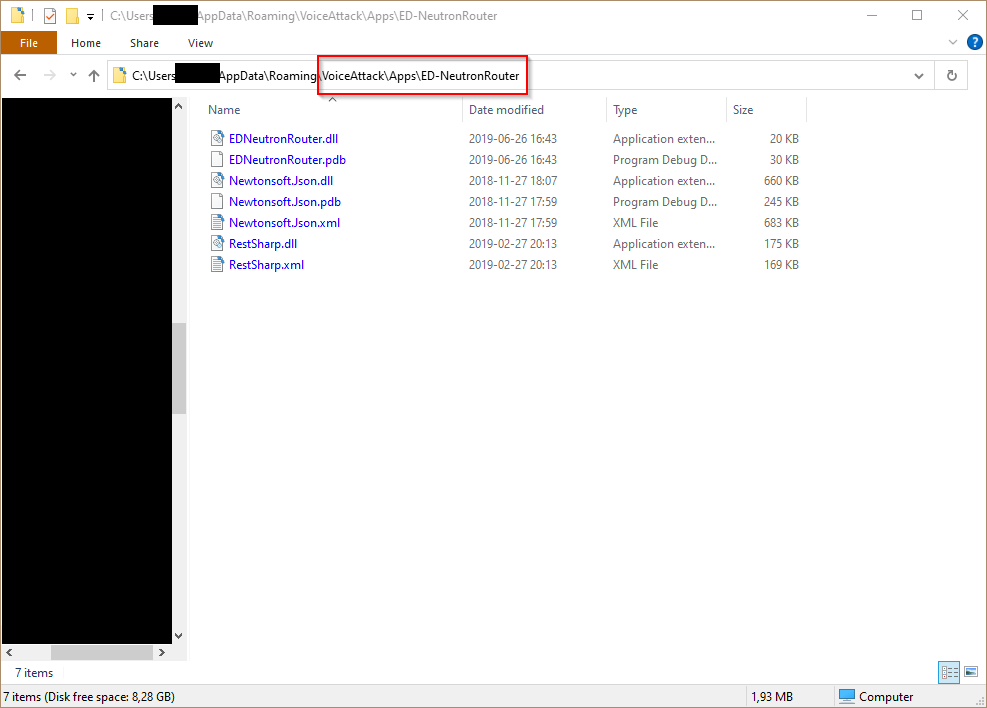
Now extract the contents of the downloaded file into there. Make sure that they are not naked files under “Apps”, but have their own folder “Apps\ED-NeutronRouter”! The exact folder name does not matter as long as they are in a subfolder. Otherwise the plugin will not load.
Leave the “Apps” folder open in Windows Explorer, you will need it for the next step.
Import Profiles Package
Acquire the latest
release
from Github (the alterNERDtive-voiceattack-profiles.vax file under “Assets”).
Put it into VoiceAttack’s “Import” folder:
- Go into VoiceAttack settings.
- Click the folder set as “Apps Folder”.
- Create a sub folder named “Import” if it does not exist yet.
- Drop the downloaded .vax file into the “Import” folder.
- Restart VoiceAttack.
- When prompted, import the profile package. VoiceAttack will restart when completed.
Create a Custom Profile
Last but not least you are going to create your own custom VoiceAttack profile for Elite. It will allow you to add your own commands, override any commands in the profiles that you want to change and add voice triggers or hotkeys.
You can either use an existing profile, create a new one or use the provided profile example as a basis. Regardless of which way you choose, make sure to read the Include Profiles section and follow the instructions there!
Option 1: Create a New Profile Or Use an Existing One
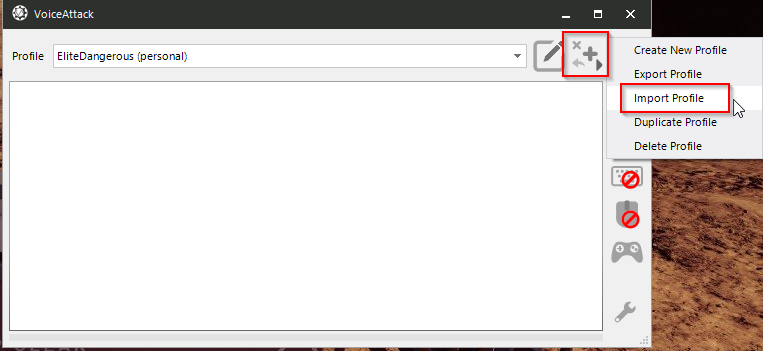
- Click the “Profile Actions” button, then “Create New Profile”.
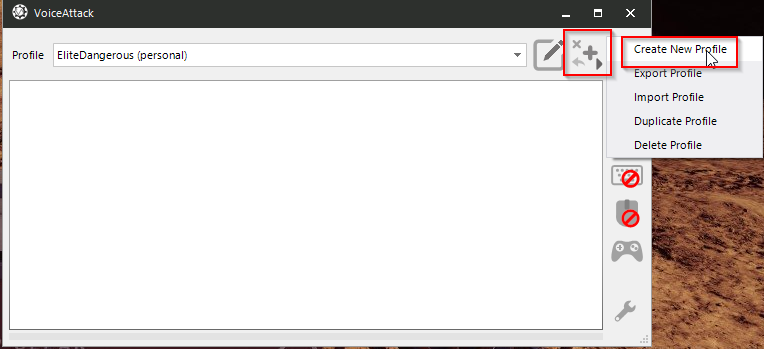
- Give it a name and add some commands if you want to.
- Hit “Done” to create the new profile.
Alternatively you can keep using your existing profile. You will still have to follow the rest of the instructions in this case.
Create a Startup Command
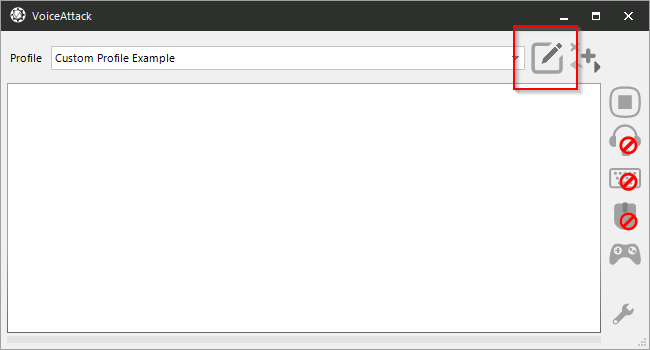
First off, hit the “Edit” button in VoiceAttack.
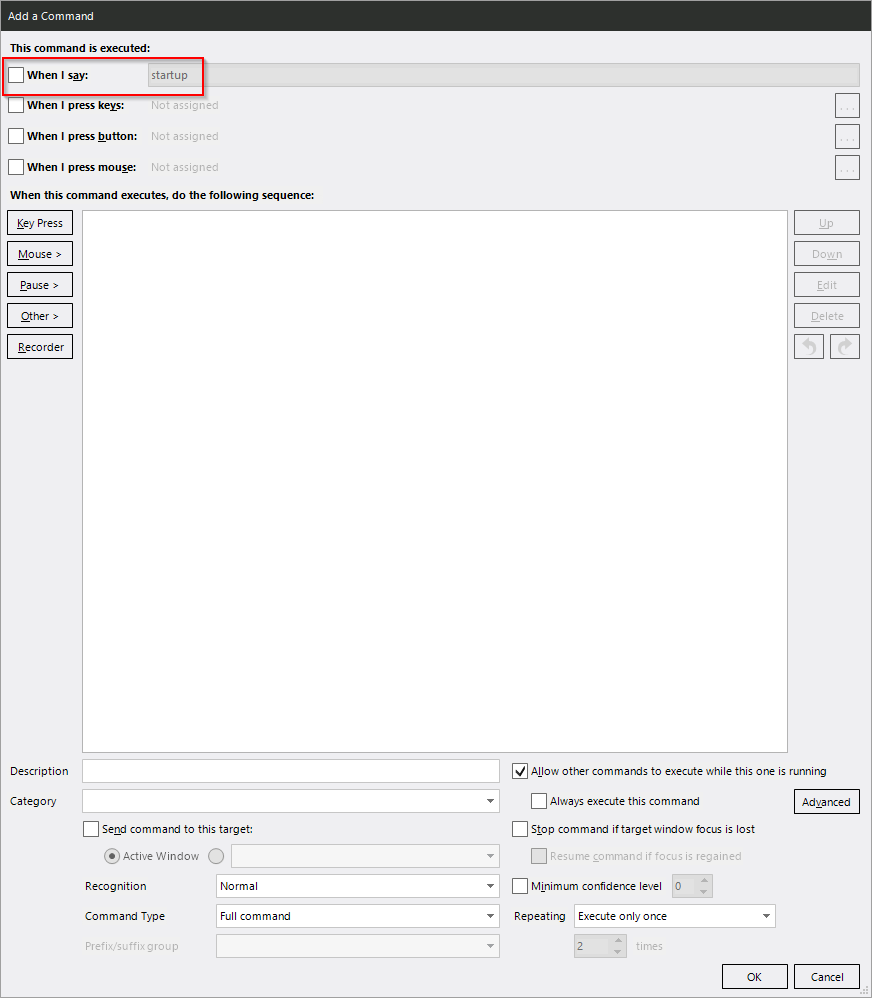
If you are using your existing profile (or have just created a fresh one) you will now have to create the startup command. Hit the “New Command” button.

You can name it anything you want but I recommend calling it “startup” or similar, and to deactivate the “when I say” checkbox in the command options to make sure you do not accidentally run it via voice.
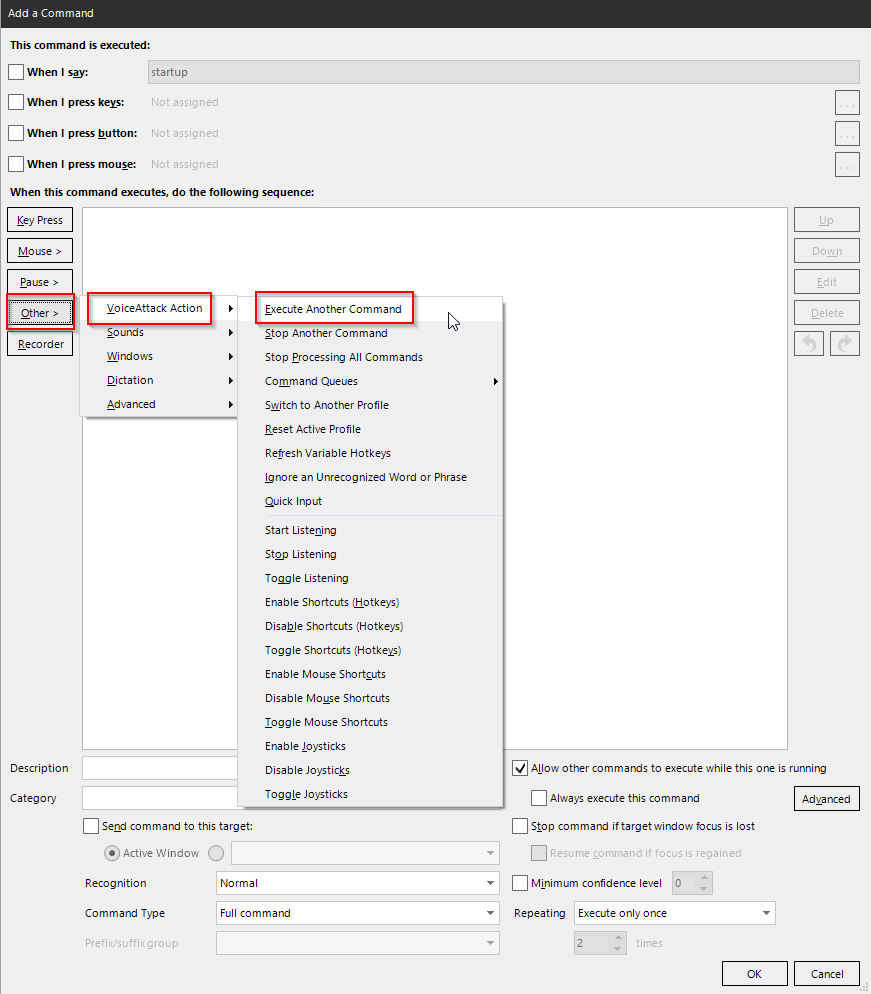
Add a new action using “Other” → “VoiceAttack Action”→ “Execute Another Command”.
Choose “Execute by name (Advanced)” and enter ((alterNERDtive-base.startup)).
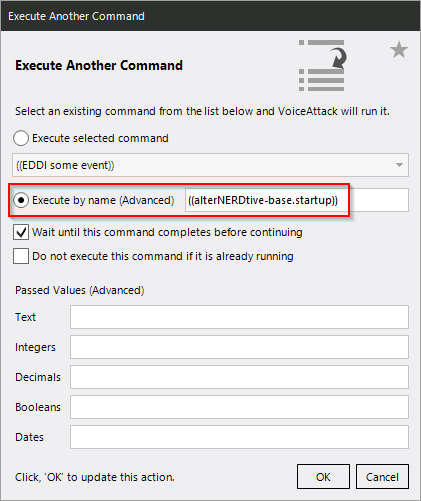
Make sure to leave “Wait until this command completes before continuing” on and have this action at the top of the action list for the command. That way you can be sure that my profiles are initialized properly before your personal startup actions are processed.
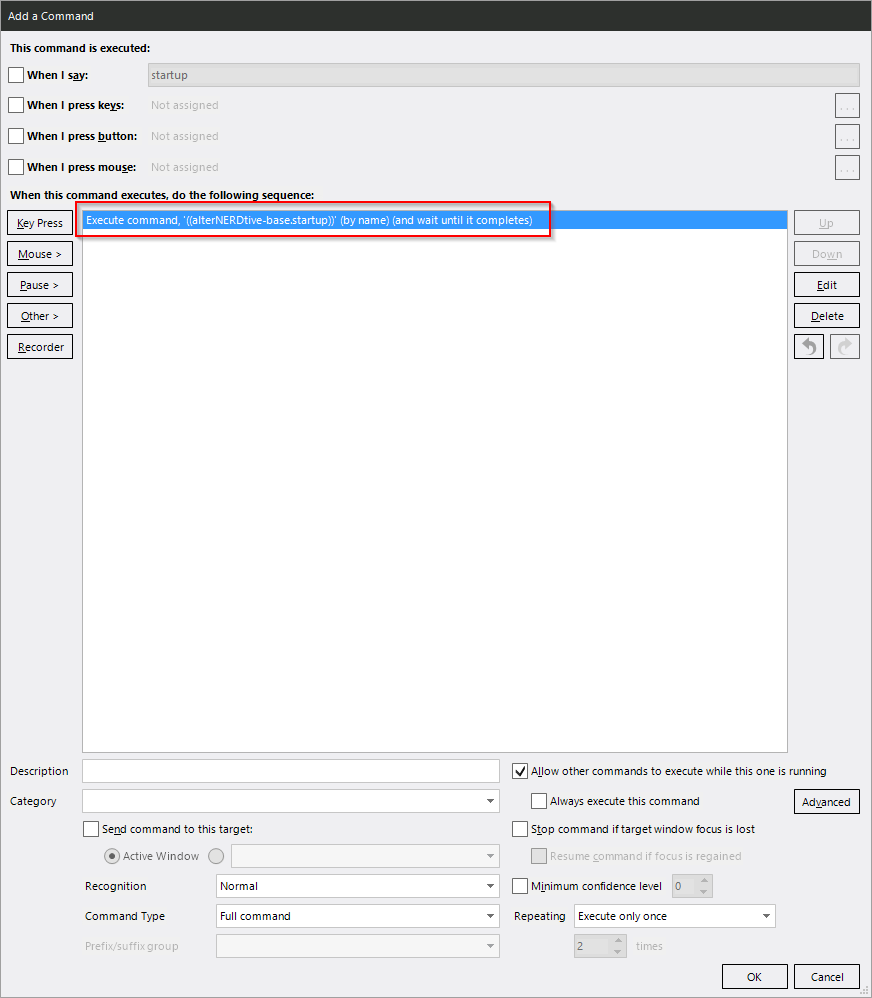
You can add anything else you want your profile to do when it loads below this action. You do not have to set any configuration options, this can be done way more elegantly! More on this later on.
After adding the startup command you will have to right click VoiceAttack’s title bar and choose “Reload Active Profile” or restart VoiceAttack to see it executed for the first time.
Option 2: Use the Profile Example
- Click the “Profile Actions” button, then “Import Profile”.
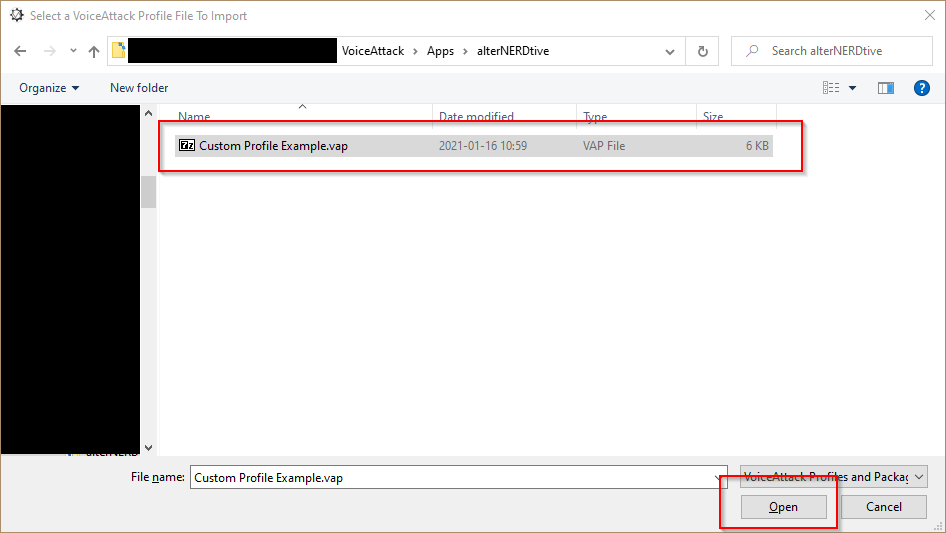
- Navigate to your VoiceAttack Apps folder (see above), go into the
“alterNERDtive” subfolder, choose the profile example and hit “Open”.
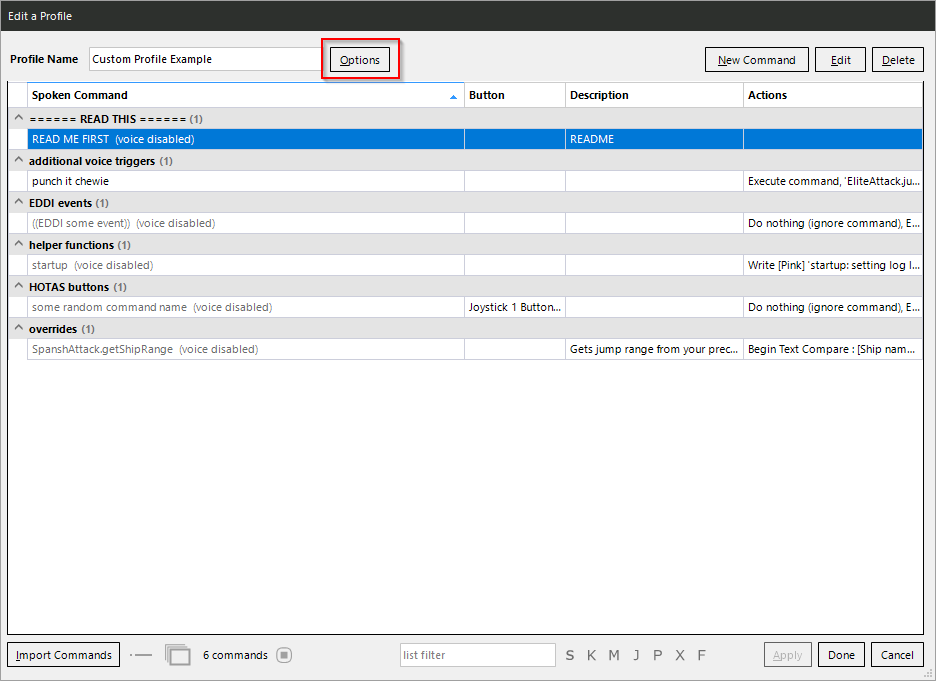
Once you are done with the setup and configuration process, you can find a bunch of example commands with comments on how to do things in this profile. Make sure to also rename it to something more exciting than “Custom Profile Example”!
Include Profiles
In order to use my profiles with your custom profile, you will need to take two additional steps:
- Include the profiles in your custom profile. That will make all commands available when your custom profile is active.
- Create a startup command for your custom profile. You can use it to do anything you want when your profile loads, but it will also have to run the startup command for my profiles.
Set Profile Options
While editing the profile, hit the “Options” button.
On the section labeled “Include commands from other profiles”, hit the “…” button.
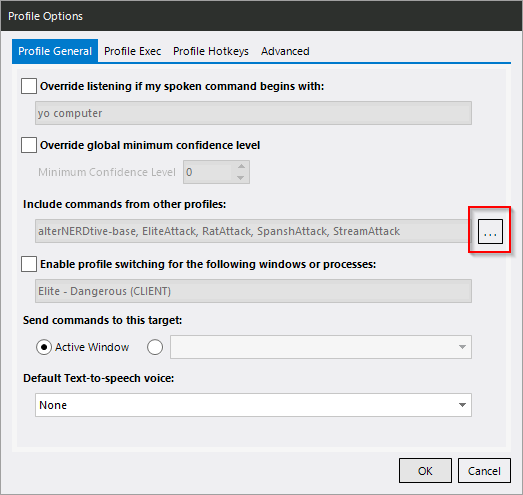
Add all my profiles (“alterNERDtive-base”, “EliteAttack”, “RatAttack”, “SpanshAttack”, “StreamAttack”).
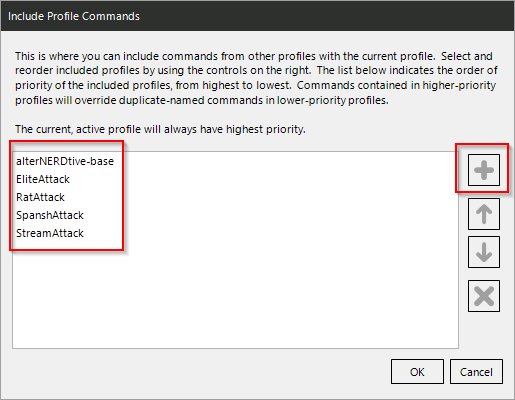
Make sure that “alterNERDtive-base” is on top of the list, the order of the others does not matter. But I like it nice and alphabetical. Technically you can leave out any profile you are not planning to use. Practically it probably will not hurt you to just include everything, and it will then be available for you in the future should you choose to check it out!
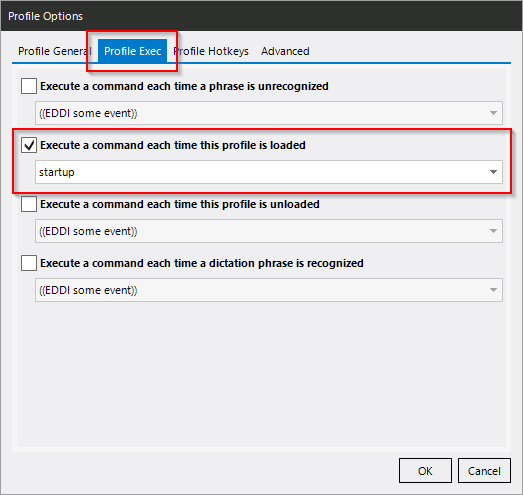
Now switch to the “Profile Exec” tab. Tick the “Execute a command each time this profile is loaded” checkbox, and select the “startup” command you have created earlier.
Reload the Profile
To make sure everything is loaded correctly, you now need to either reload the profile by right clicking on VoiceAttack’s title bar → “Reset Active Profile” or by simply restarting VoiceAttack.
You should see a bunch of initialization messages pop up in the VoiceAttack log.
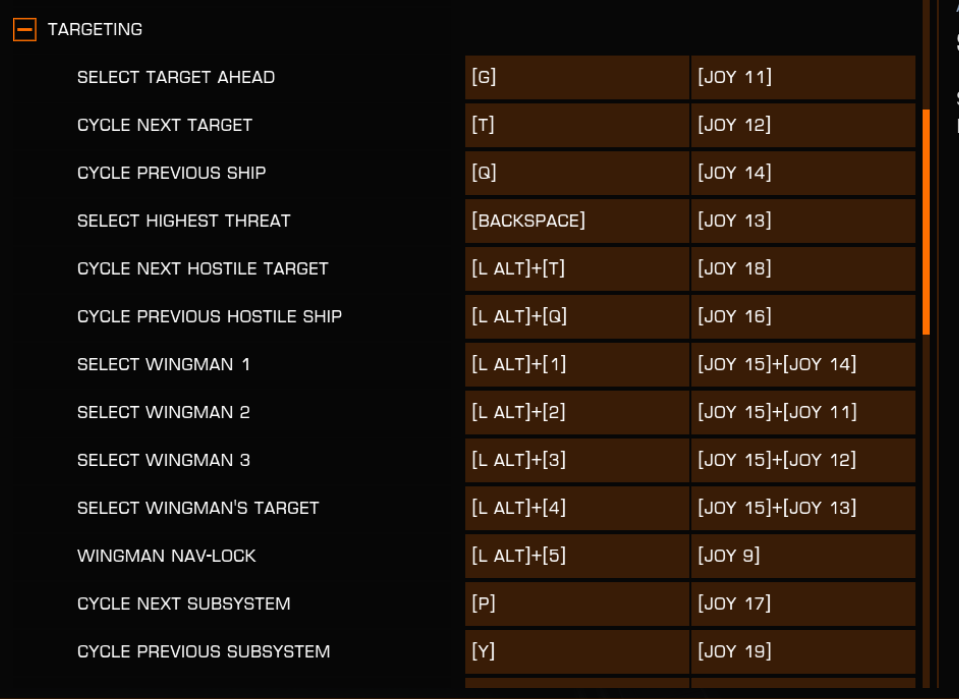
Set Elite Keyboard Binds
You need to have keyboard binds setup at least as secondary bindings in Elite’s controls options. VoiceAttack cannot “push” joystick buttons for you, it can only do keyboard inputs. Hence its only way to interact with Elite is through keyboard emulation, even if you otherwise play the game with a controller or HOTAS. Or racing wheel. Or Rock Band set. Or bananas.
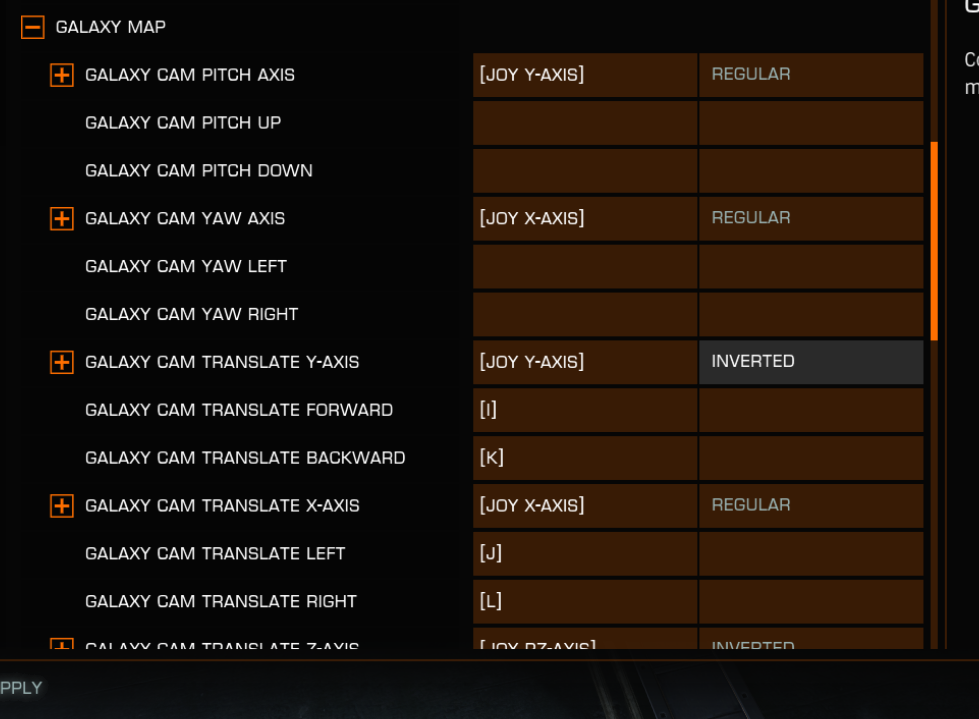
For the “Galaxy Map” section, make sure that the bindings do not conflict with the ones in the “Interface Mode” section. The map bindings take precedence and a conflict leads to VoiceAttack being unable to target systems for you. In that case you would see it open the map for you and then wiggle the view for a split second instead of switching tabs over to the system search.
Should you use a keyboard layout that is not en-US QWERTY, some keys might not
work out of the box. You can try telling bindED about your keyboard layout by
setting the bindED.layout# variable (including the #!) to something more
appropriate in your startup command.
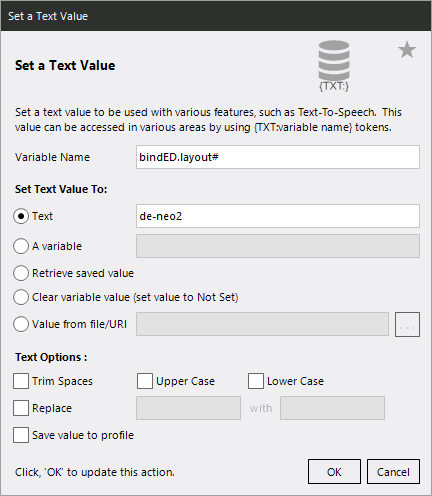
Currently bindED supports the en-US, en-GB and de-Neo2 layouts. You can
find instructions on how to add your own
here.